Google identity provider
PolicyArc uses Google as a pass-through identity provider: when a user signs in, PolicyArc redirects them to Google's standard OAuth flow and accepts the resulting OIDC identity.
To wire this up, you'll create an OAuth client in Google Cloud Console, then hand its client ID and secret to PolicyArc.
- A Google Cloud project (any project — it just needs the credentials surface).
- Permission to create OAuth credentials in that project.
- The PolicyArc admin portal open in another tab.
Step 1 — Open the Add a sign-in provider form
In the Admin Portal, under Configure, select Users & Identity. On the IdPs tab, select Create.
Pick Google from the provider list.
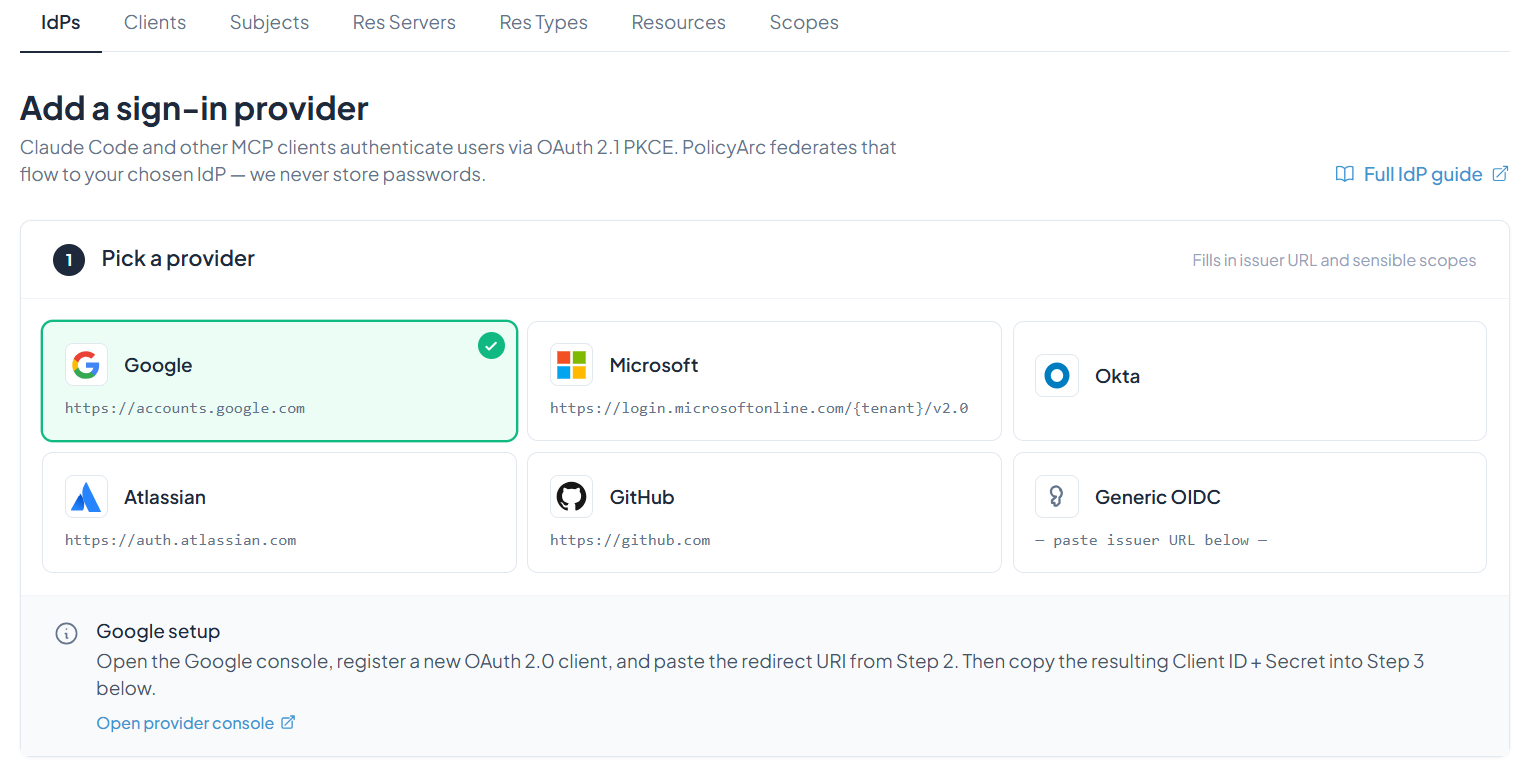
The form shows one tile for every bundled provider preset, so it has more tiles than this screenshot.
Keep this tab open — you'll come back to it after you create the credentials in Google.
Step 2 — Open the Google provider console
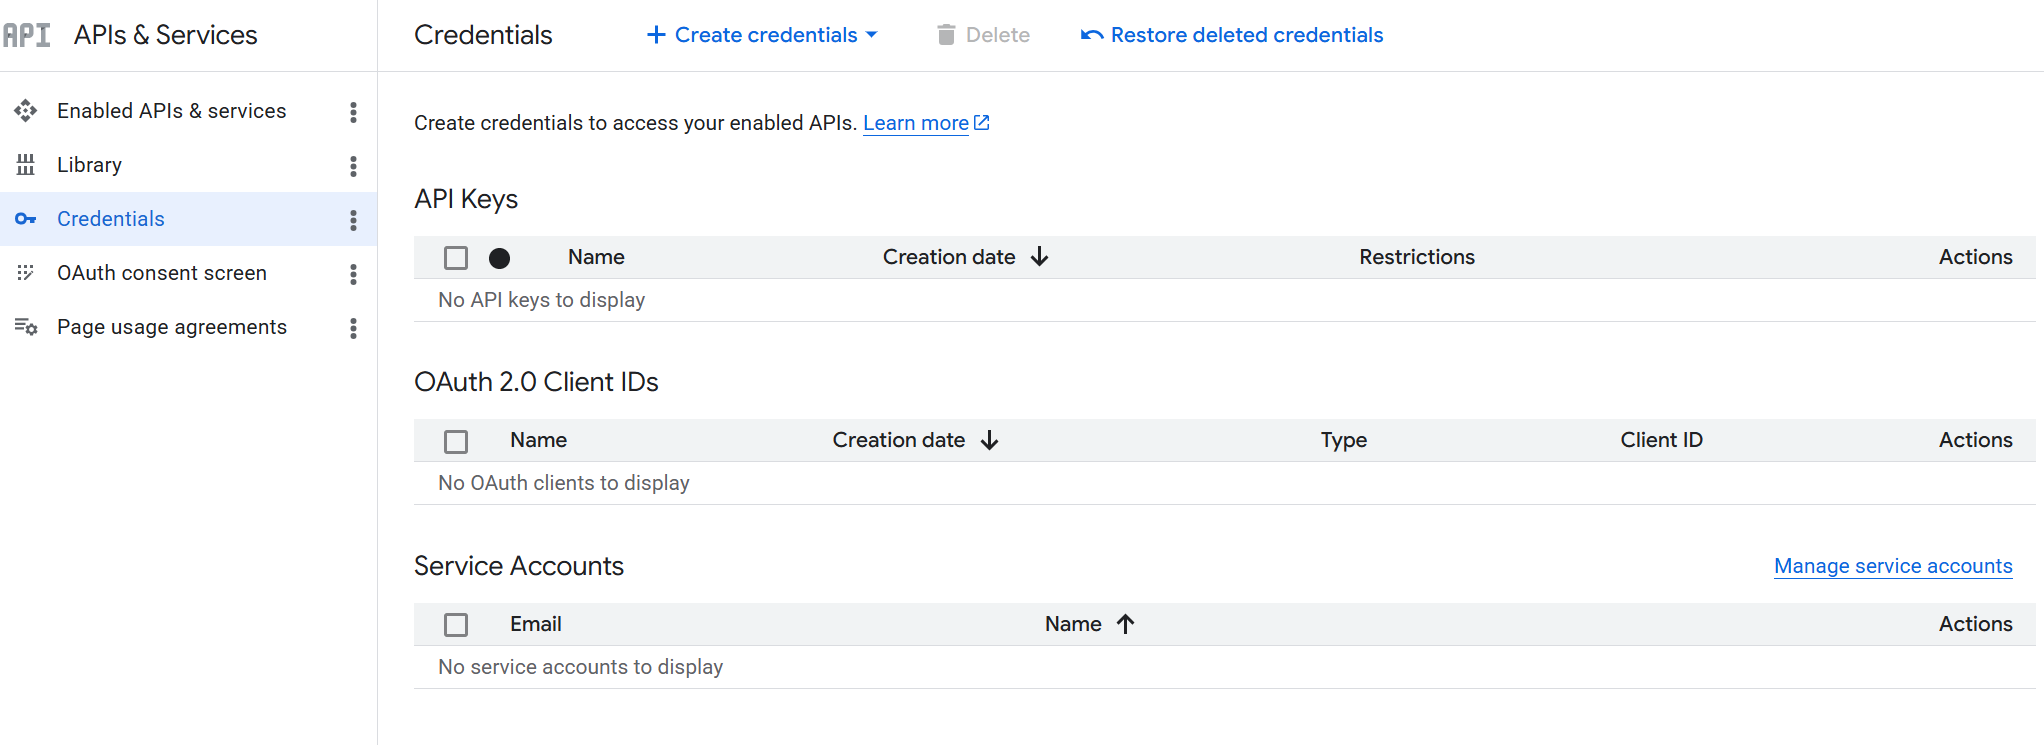
Click Open provider console. Google will ask you to sign in.
After you authenticate, you'll land on the Credentials page of Google Cloud Console.
Step 3 — Enable the Google APIs you'll use
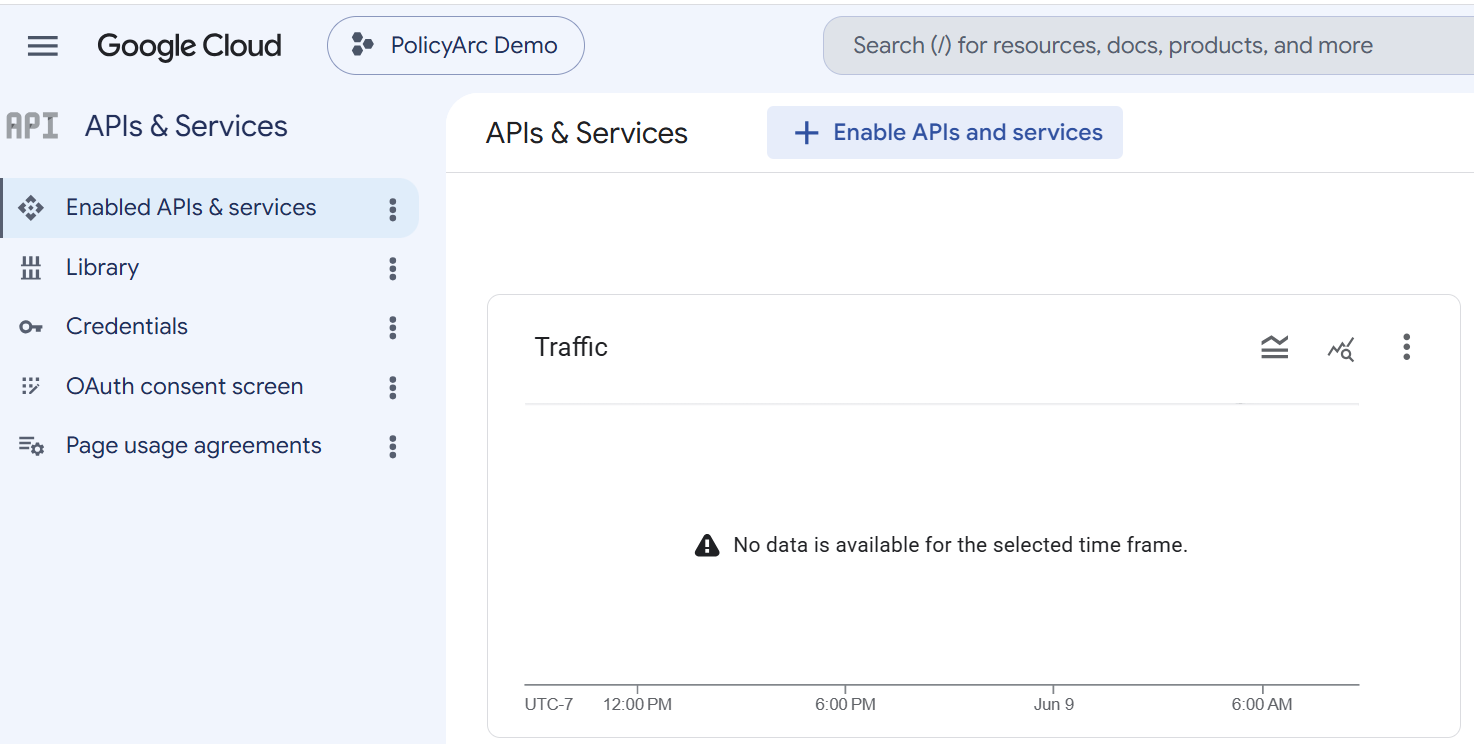
The IDP itself only needs Google's OIDC scopes, which are always available. But each Google connector you plan to use later calls its own Google API, which must be enabled on this project. You're already in the Google Cloud Console — it's the right moment to do this.
From the left nav of APIs & Services, open Enabled APIs & services, then click + Enable APIs and services at the top.
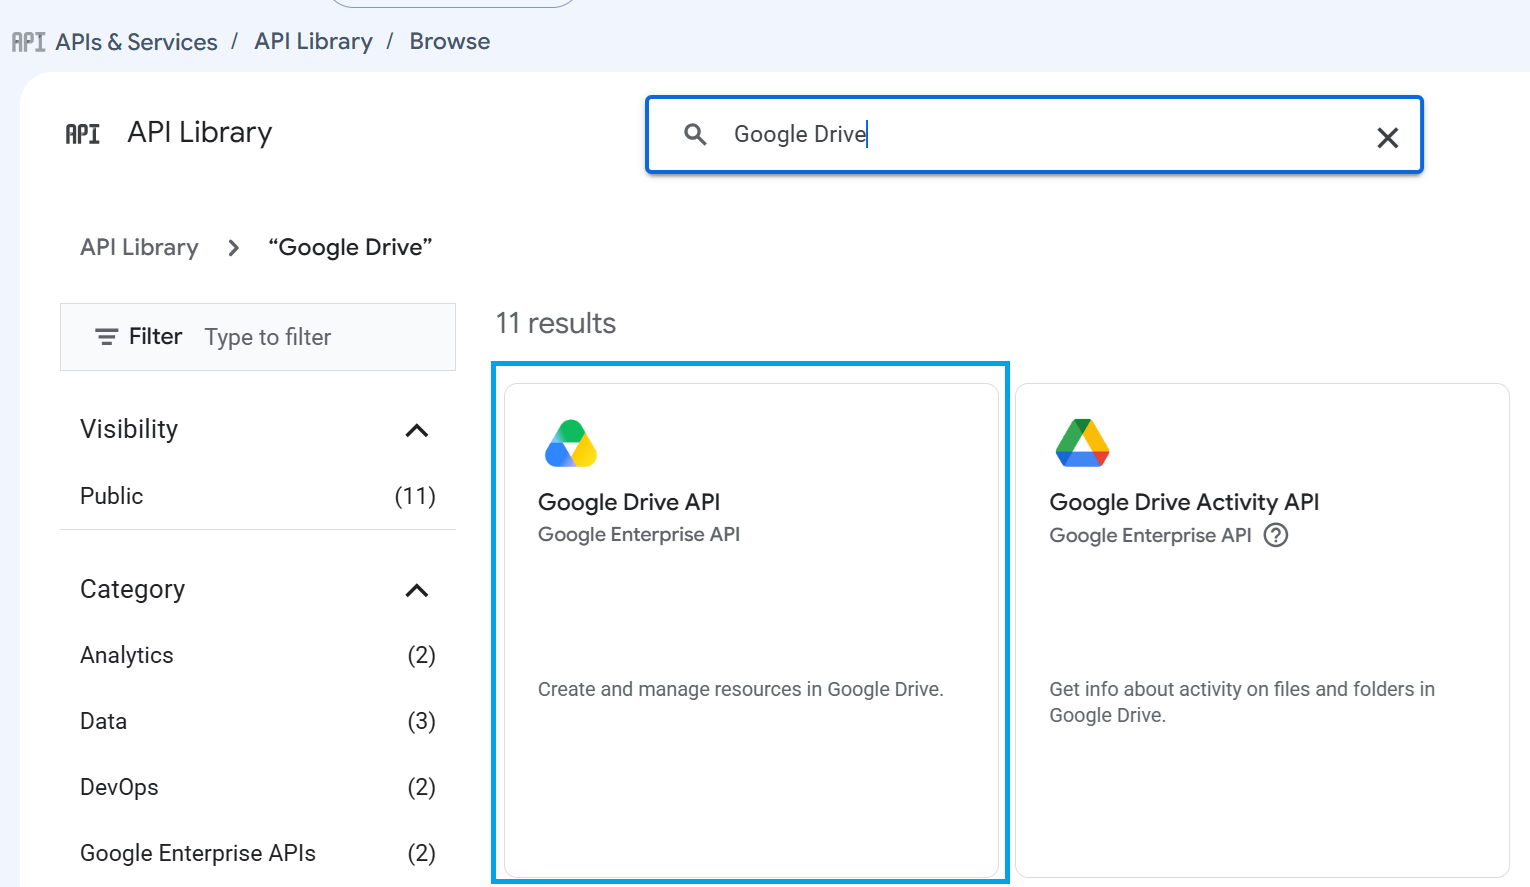
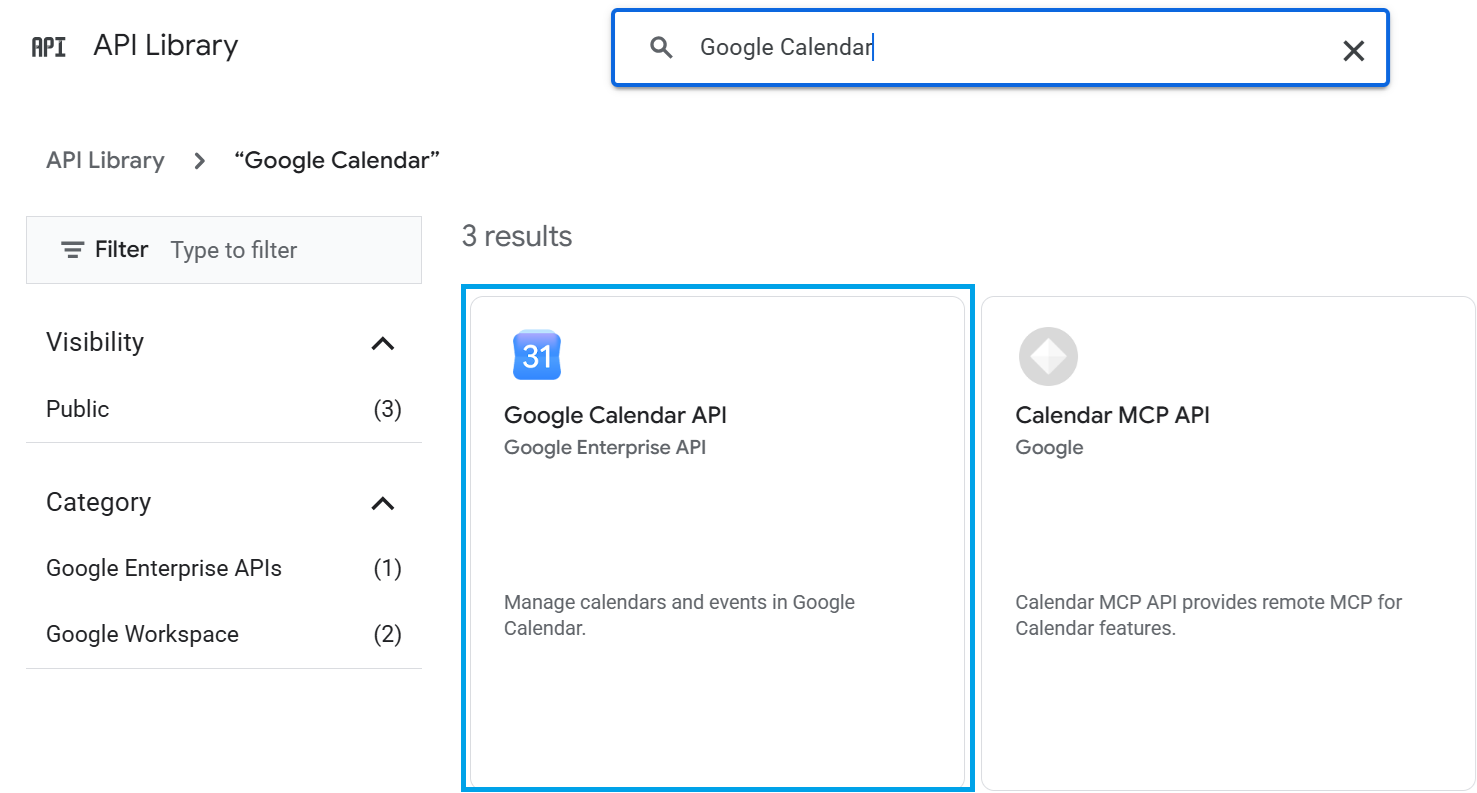
In the API Library, search for the API that matches each connector you plan to use:
| Connector | API to enable |
|---|---|
| Gmail | Gmail API |
| Google Drive | Google Drive API |
| Google Calendar | Google Calendar API |
| Google Docs | Google Docs API |
| Google Sheets | Google Sheets API |
| Google Slides | Google Slides API |
| Google Chat | Google Chat API |
| Google Tasks | Google Tasks API |
| Google Directory | People API |
The connectors call these APIs at the base URLs in their manifests (docs.googleapis.com, sheets.googleapis.com, slides.googleapis.com, chat.googleapis.com, tasks.googleapis.com, people.googleapis.com). If you govern Docs, Sheets or Slides files with the file access control, the gateway also reads file metadata through the Drive API, so enable the Google Drive API too.
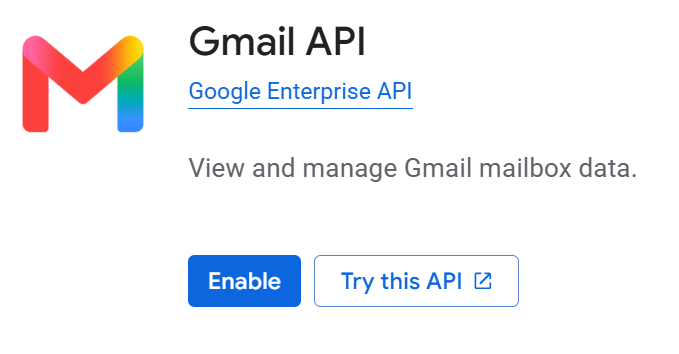
Searching for Gmail returns both the Gmail API (the one you want) and a Gmail MCP API — pick the one labelled Google Enterprise API.
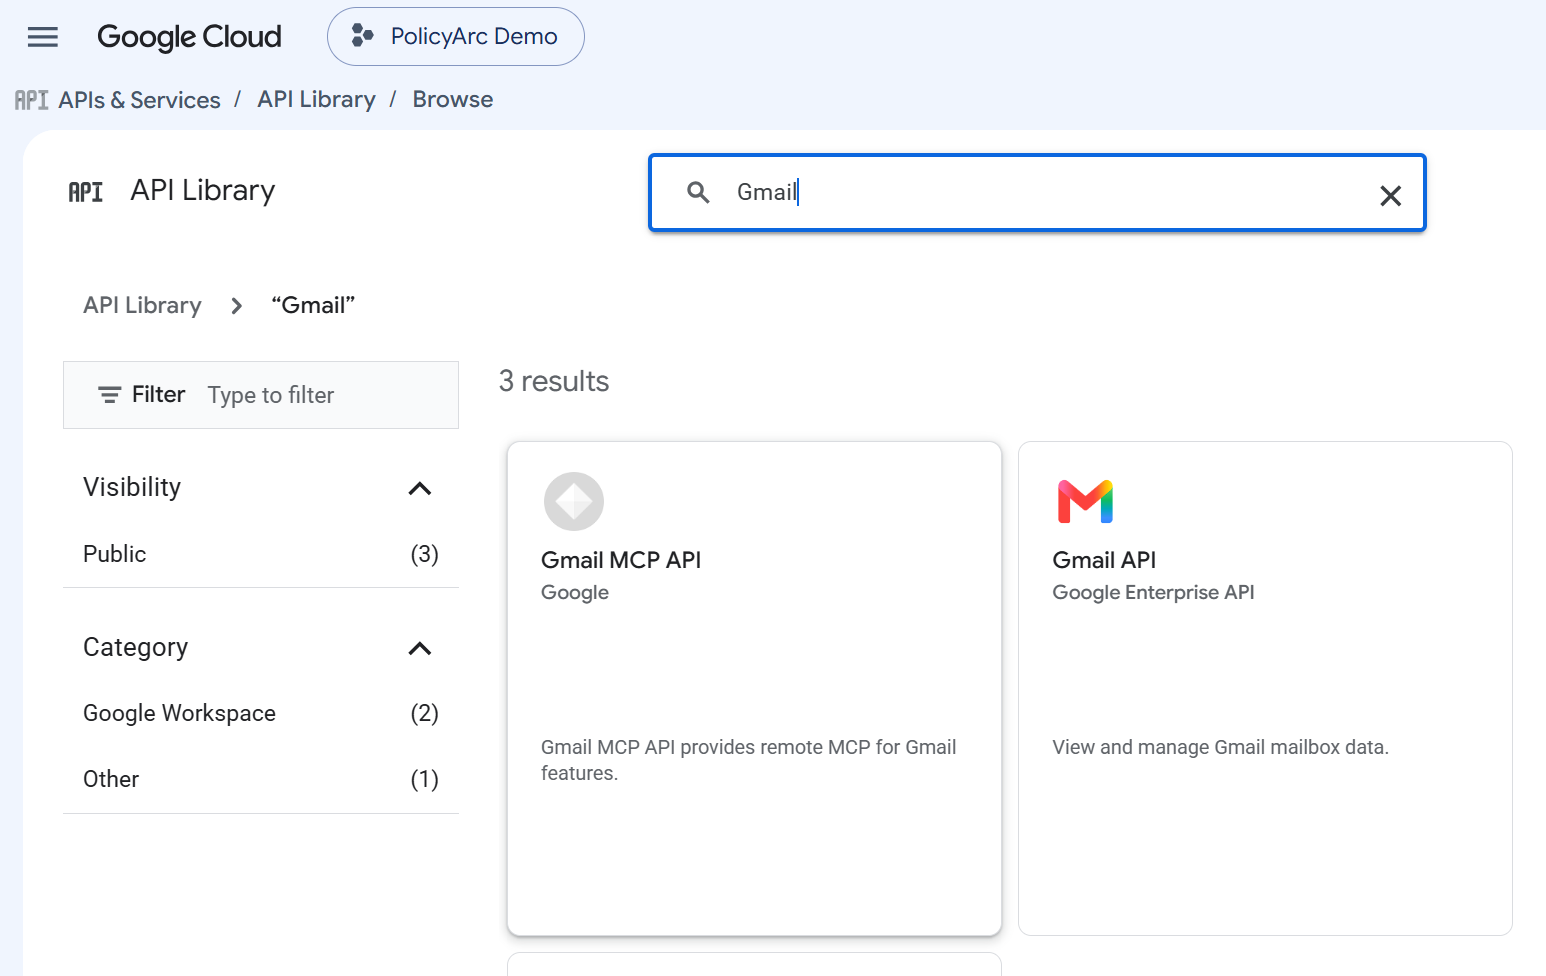
Click the API card and then Enable.
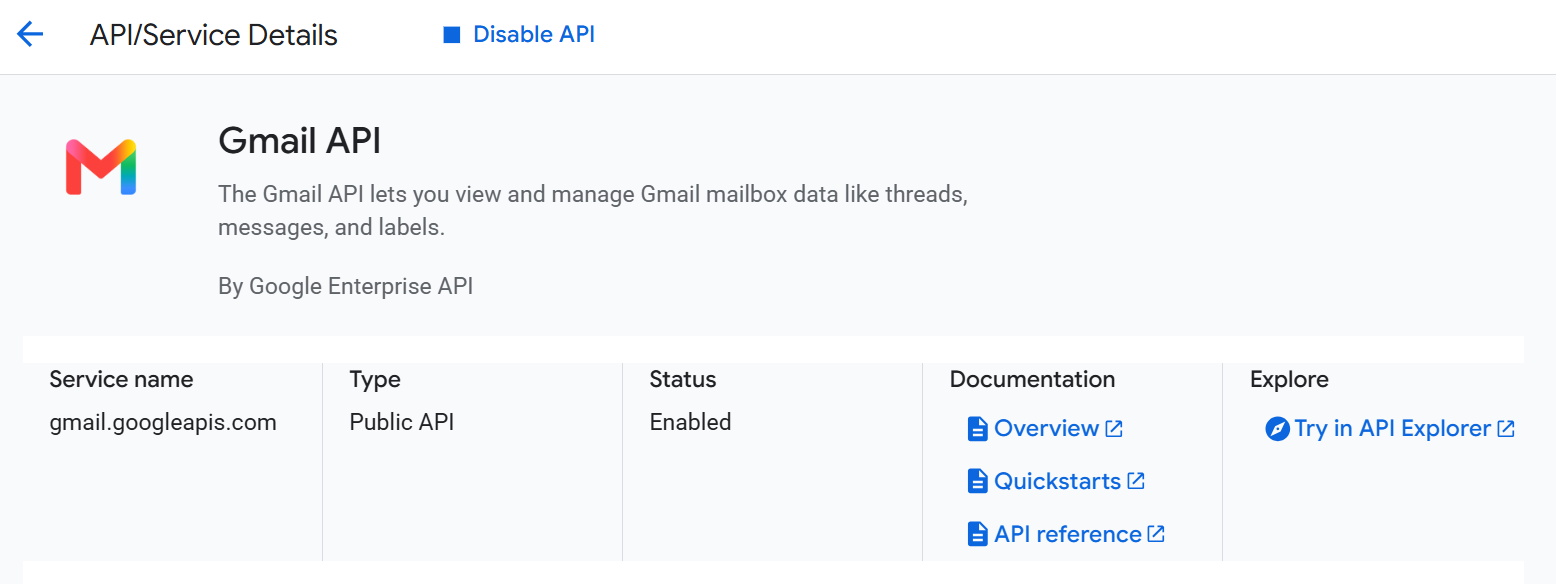
You'll land on the API/Service Details page with the status set to Enabled — that's your confirmation. The button now reads Disable API, which is fine; that's just how Google displays an already-enabled API.
Repeat for the other connectors you plan to use. The search and Enable flow is identical:
You can come back to APIs & Services → Library any time to enable more APIs. There's no charge for enabling an API on its own — you only pay for actual API calls.
Google's OAuth consent screen requests scopes (e.g. https://www.googleapis.com/auth/gmail.readonly) on behalf of your users. If the matching API isn't enabled on the project, the consent flow fails — even though the IDP setup looks complete. Enabling the API now prevents a confusing failure later.
Step 4 — Create an OAuth client
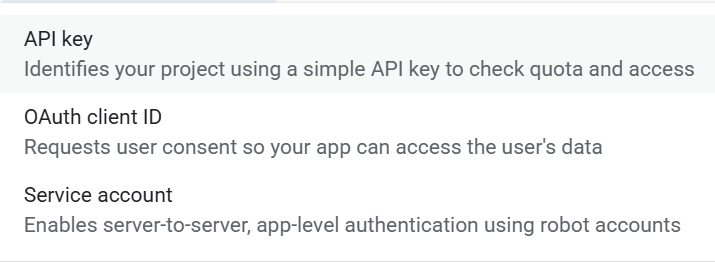
Click + Create credentials and pick OAuth client ID.
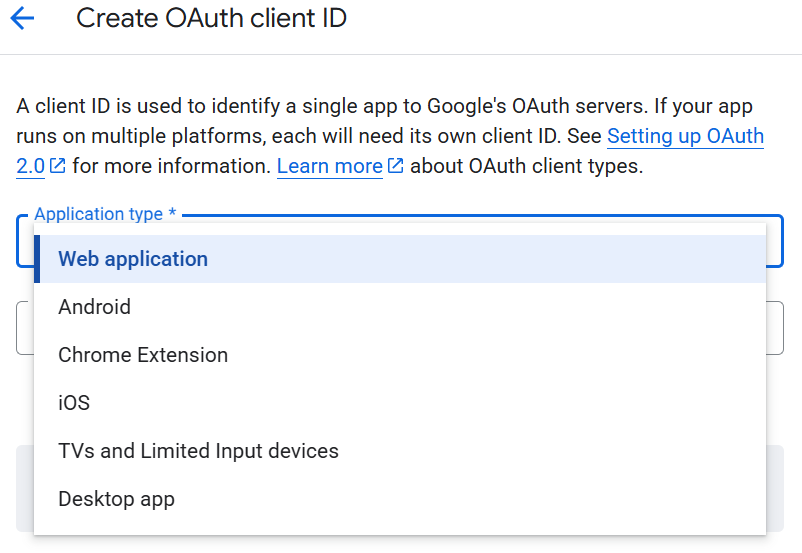
For Application type, choose Web application.
Give the OAuth client a name (for example, PolicyArc App), then add an Authorized redirect URI.
The redirect URI comes from the PolicyArc tab you left open in Step 1 — it's the value PolicyArc shows on the Add a sign-in provider form.

Your finished form should look like this:
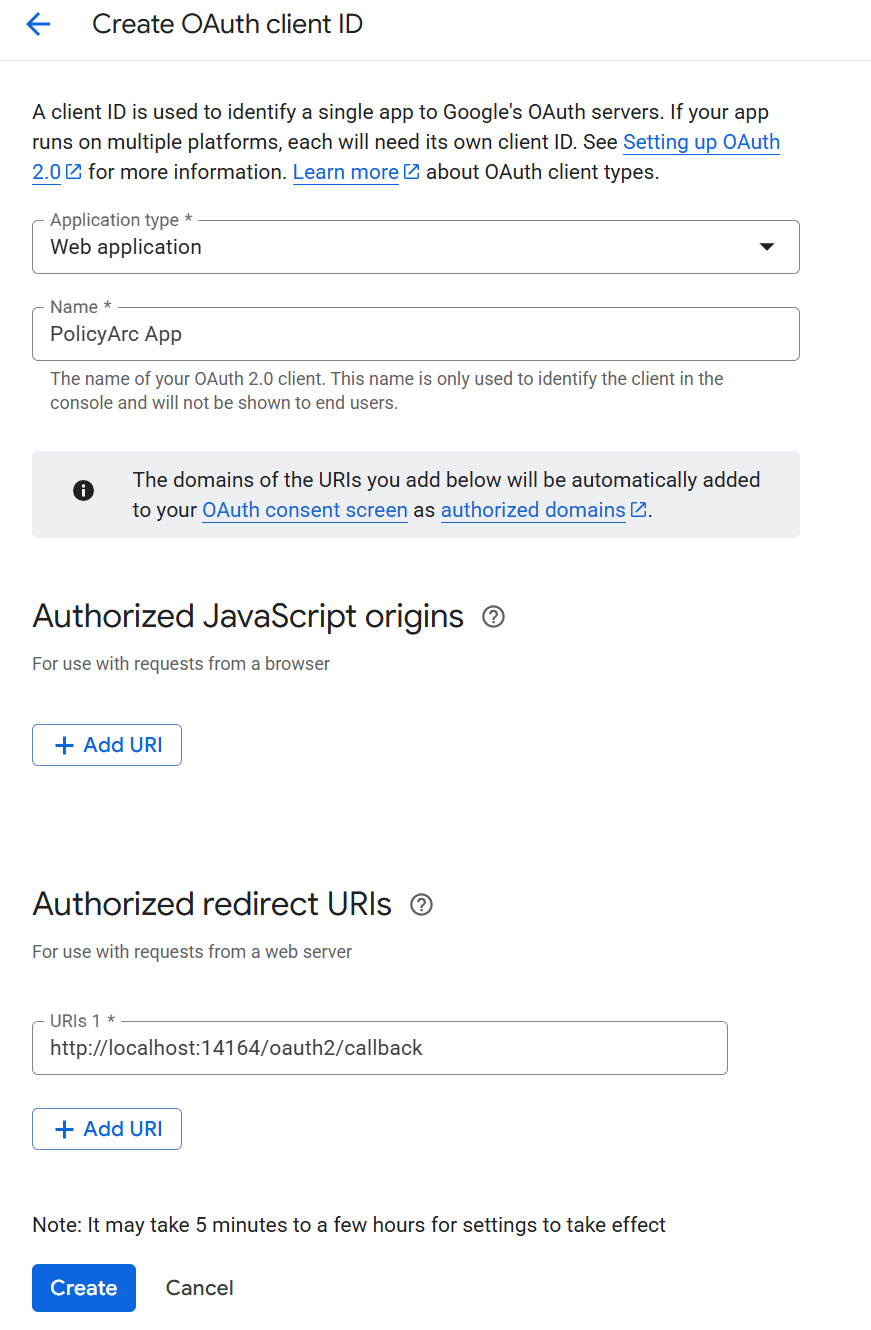
Click Create.
Step 5 — Capture the client ID and client secret
Google now shows a pop-up with your new Client ID and Client secret. Don't dismiss this dialog yet — the secret is shown only once.
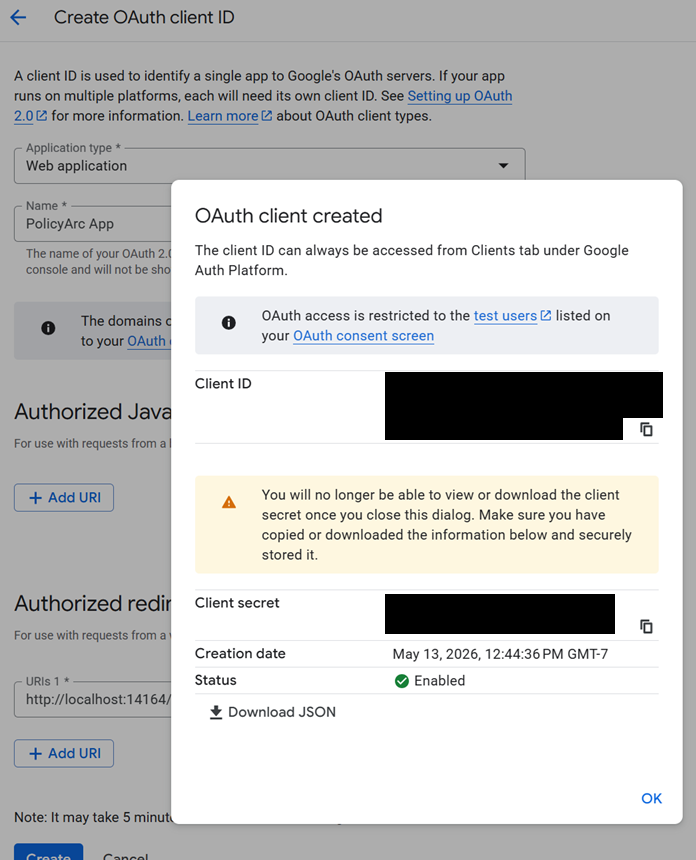
You have two options:
- Copy the Client ID and Client secret by hand into the PolicyArc Admin Portal tab.
- Click the Download JSON button to save them to a file you can paste from later.

Once you've captured both values, dismiss the dialog. The credentials now show in your Google Cloud Credentials list.
Step 6 — Finish the IDP in PolicyArc
Switch back to the PolicyArc Admin Portal tab. Paste the Client ID and Client secret into the form, then click Add identity provider.
Picking Google fills Extra authorize params with access_type=offline and prompt=consent. If you leave the field empty, PolicyArc applies the same two values when it creates a provider whose key is google. An edit does not add them. They make Google return a refresh token, so connectors that act as the user keep working after the first access token expires.
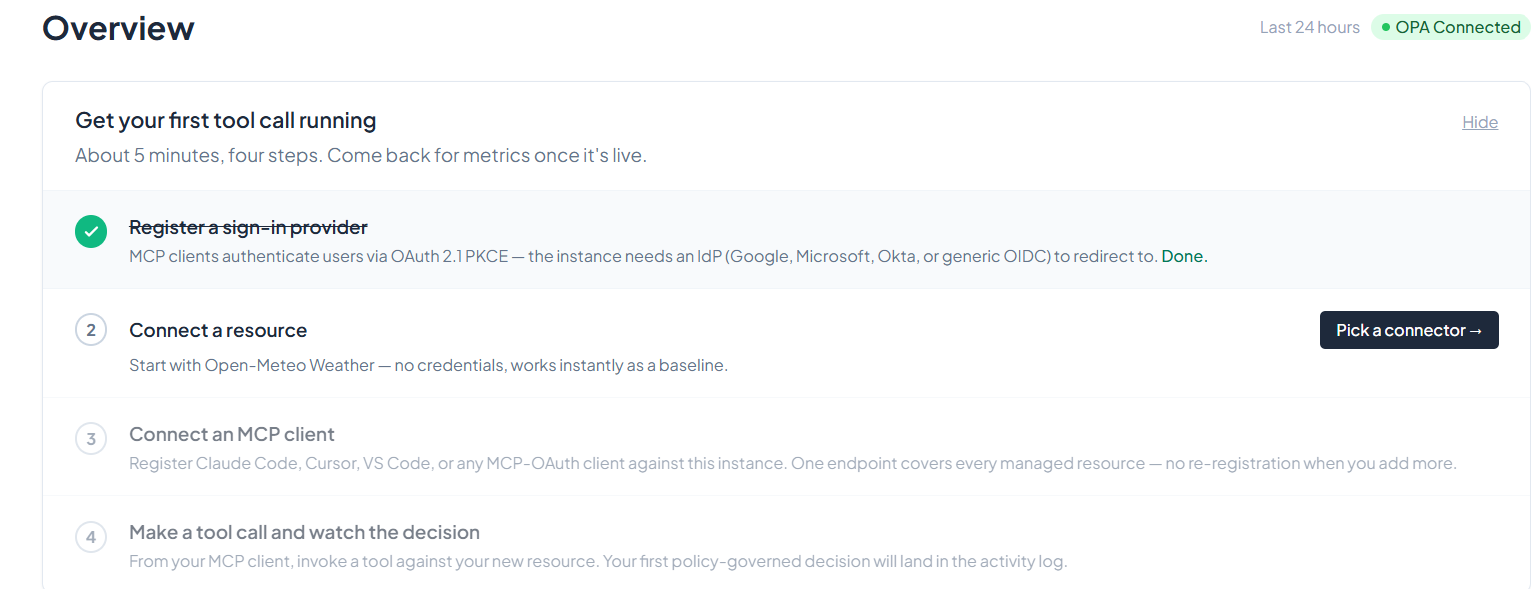
For your first provider you land on the Overview page. The Google IDP is now connected and ready to use.
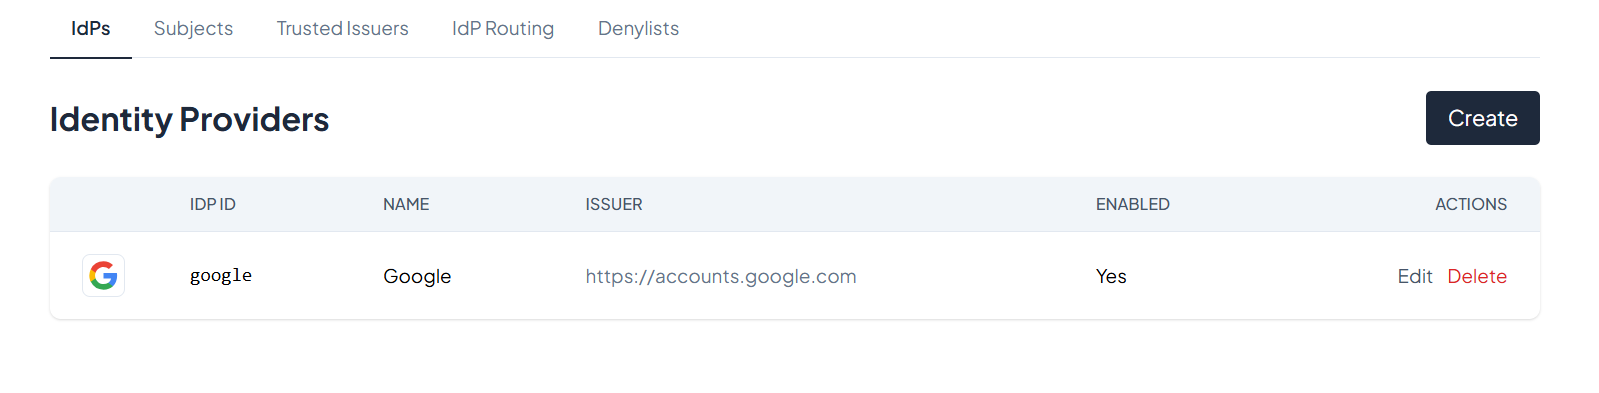
You can review or edit your IDPs any time under Users & Identity.
Enabling and disabling an IDP
To temporarily disable an IDP without deleting it, open it from the Identity Providers list and toggle Enabled off. Its configuration is kept.

What's next
The Google IDP is now authenticating users. Next, give them a resource to access:
- Recommended: Google Drive — the simplest connector for the Google pass-through model.
- All resource connectors →
The walkthrough above uses pass-through OAuth — every user signs in with their own Google account. Drive, Calendar, Docs, Sheets and Slides also offer google_sa mode, a Workspace service account with domain-wide delegation that impersonates the calling user. It still needs a signed-in user, and no setup field names a fixed user. Setup instructions are coming soon. Contact us if you need it now.
Send feedback about this page